

Admittedly, this post is long overdue. We’ve had to put off writing about our electrical system because the journey has been long and slow, and we wanted to complete it before writing about it. Now, the good news: as of a few weeks ago, we are functioning on 100% solar power. No small feat! But alas, it was not always this good. Here is the story (or perhaps saga?) of how we got our home plugged in and powered up. Note: if you’re only interested in the specs and not the story, scroll all the way to the bottom for a parts list.
We always knew that we wanted to live off-grid and utilize renewable energy sources. This worked in our favor because the piece of property that we ended up calling home did not even have the option of utility hookups, which made the property more affordable on our tight budget. After building the house exclusively with solar power from the array on our suburban camper rig, we were ready to get the house itself plugged into its own solar array before the dark days of winter.
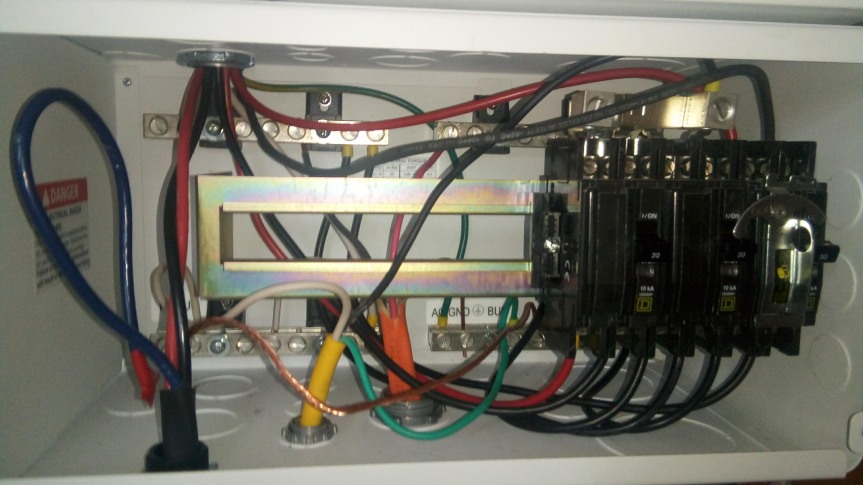
First, let me say that our electricity needs are very low, consisting only of a few LED lights, an energy efficient fridge, and the charging of small electronics such as cell phones and a laptop. Even with such low energy needs (less than 1.8 kW per day), we decided to build our system to have a backup gas generator for those short winter days when it’s not possible to get 1.8 kW exclusively from solar. Unsure of the ability to ship solar parts to Alaska without it costing an arm and a leg, we decided we would have a local Anchorage company help us design our system based on our needs and we would install it. With our energy budget in mind, we headed to Anchorage to get the required equipment: a battery bank, charge controller, an inverter, solar panels, and all the necessary hardware. It took many meetings and trips to Anchorage over several months to pick up our equipment, but we finally ended up with a System from Schneider electric (conext sw 2524 inverter and MPPT 60 150 charge controller with Conext SCP control panel), which we hooked up to our battery bank (225 amp hour AGM) and then to the sub panel for the house. We were not able to hook up our solar panels right away due to some issues regarding buying the proper cable to wire them in, but we were able to hook the generator up so that we could have electricity in the mean time. Though the system was overly complicated, it was wonderful to have electricity in the house. However, it soon became apparent that something was not quite right with our inverter/charger.
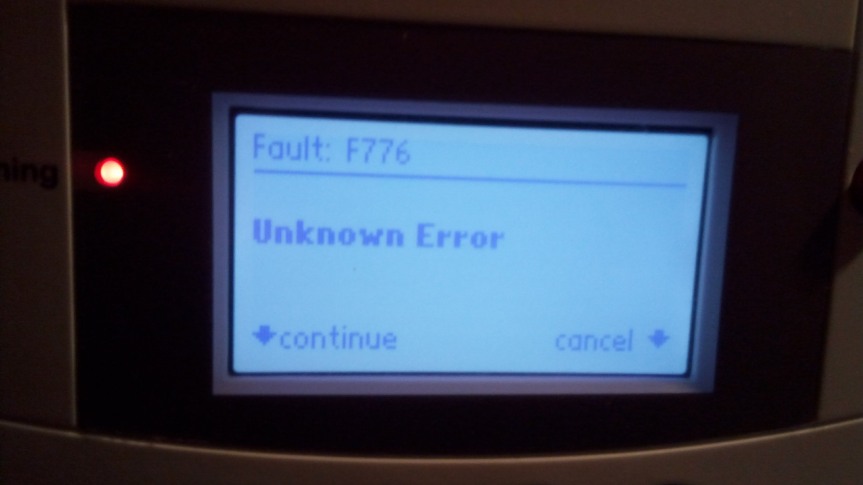
The symptoms were odd and seemingly unrelated: sporadic error messages, mysterious energy “losses” from the battery bank, and most notably, an unexplained inability to fully charge the batteries with the generator. Over time, these symptoms became worse and even the installation of our two solar panels did not help. We reached out to the company that we purchased the system from and, after jumping through innumerable hoops and incessantly fiddling with settings, we were told that we were experiencing a software glitch.
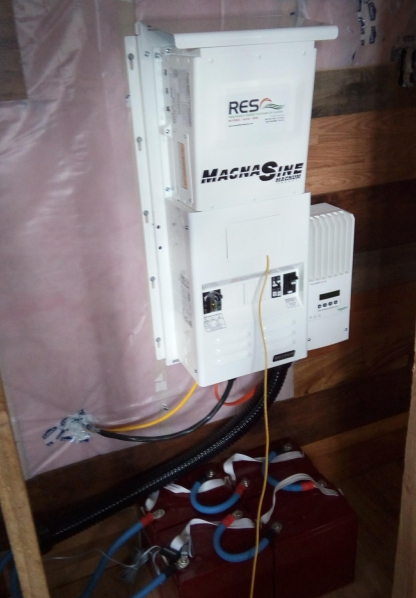
Fast forward to a few months and even more hoop jumping later, and we were given a tool that would allow us to update the software on the machines. We did this, yet it did nothing to solve the problems. In fact they got much worse, as we hit a point in March where the system would only allow us to charge for 10 minutes (it normally should take 3+ hours), which was only giving us enough electricity to power the house for a few hours each day. Charging the batteries was like trying to fill a bathtub with an eyedropper.We were rationing our electricity, keeping it off most of the time. All of the food in our fridge spoiled. Fast forward again through a few weeks of phone calls, data collecting, and more phone calls, and we were told by the manufacturer, Schneider Electric, that they did not know what the problem was, but that our inverter/charger unit was somehow defective. We had suspected this since day one. We worked out a deal where we would exchange the defective unit for a new one of a different brand (Magnum) at the store in Anchorage where we made our original purchase. This meant that we had to remove our newly-built bathroom wall in order to remove the entire unit and drive it up to Anchorage. Annoying, but what choice did we have?

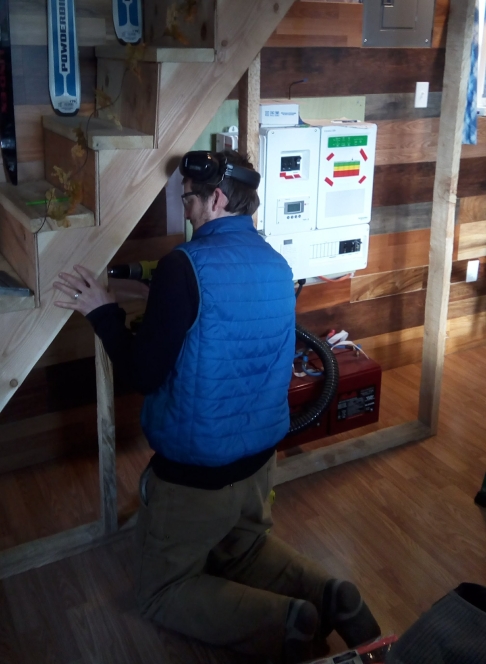
After several days of living by candle light and charging our phones in the Suburban, we had the new unit successfully installed and the bathroom wall put back in place. Phew. The new inverter, a Magnum 2024, was working well and was allowing for more complete charging. We soon realized that the 6 months of incomplete charge cycles with the faulty Schneider unit had damaged our batteries. We buckled down, did loads of research, and figured out a charging regimen that would, after 6-8 weeks, bring our batteries back to full health. Sweet.
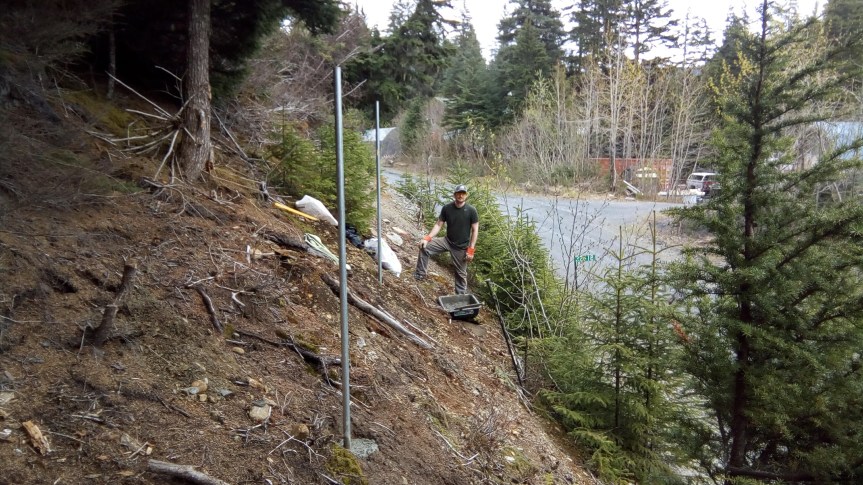
While we were in process of nursing our batteries back to health, winter was turning into spring, and the angle of the sun was changing dramatically, as happens in Alaska. It turned out that the location that we selected for our solar panels, though ideal for capturing the winter sun, was going to be in full shade in the summer. We scouted out a better year-round location, but had to wait several weeks for the ground to thaw before we could build a permanent solar panel mount. We also decided to double the size of our array, as the original system that was designed for us was sized a little too small, even for our minuscule needs.
After finally finishing the design and build of the mount in late May, we mounted the panels, wired them to the system and had everything fully functioning by mid-June (it took several weeks to have a good enough weather window to do the wiring- June was exceptionally rainy for us!)


As of this moment, the batteries have been nursed back to health, and everything is functioning well. Due to the long days of summer, we have more electricity than we know what to do with and we have been using the blender and coffee grinder with reckless abandon. We hope that we can supply our energy needs through the winter just from our solar panels, though we’ll have the gas generator as a backup if we need it. For now, we’re just thankful that after 8 months of fighting and fretting, we have arrived at full energy independence and an even greater knowledge of solar systems. From this point forward, the system will begin paying for itself. And boy, does that feel good!

We have learned volumes from this chaotic experience (saga?), but the biggest lesson that we learned (the hard way) is to always do things yourself. We made the mistake of putting the design and procurement of our system in the hands of others, which led us down the perilous road of having to backtrack, re-calculate, re-do, and repeat, which laid waste to countless hours and precious dollars. If we could go back in time, we would have designed our system ourselves from scratch and purchased all of the components ourselves, either online or sourced locally, but we would NOT have entrusted these important decisions to anyone else, even industry professionals.
On another note, for those of you curious about the specs of our finished system, here it goes. Disclaimer: it gets pretty techy)
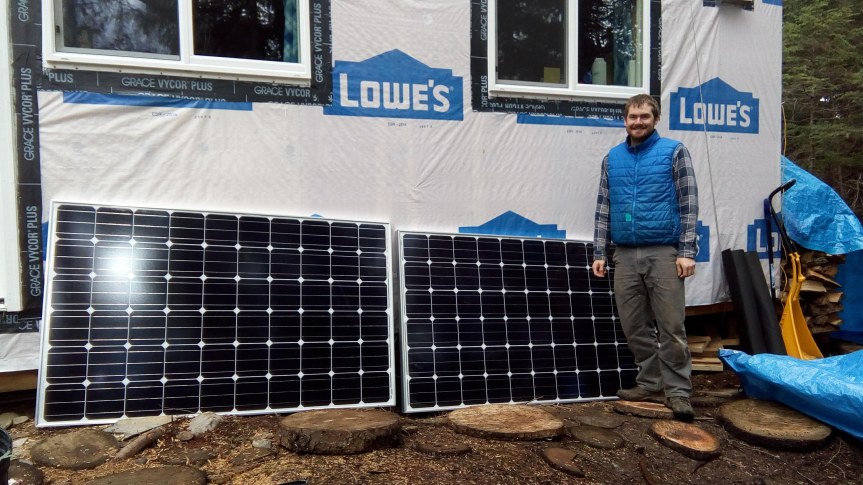
PV array: 1.12 kW array consisting of four 280W monocrystalline panels. They are arranged in two separate arrays of two panels each and are connected via combiner box. The individual panels are hooked up in series.
Charge controller: Schneider MPPT 60 150 charge controller. The only downside is that the charge controller can’t communicate with our inverter or digital control panel, as Schneider products can only communicate with other Schneider products. If we were doing it over again, we wouldn’t go with Schneider products. They had zero customer support or concern for our situation.
Inverter: Magnum MS2024 2000W 24V pure sine wave inverter. Downside is that the inverter itself consumes a good deal of electricity just by idling (this is called the “no load draw”), and the energy saving “search mode” doesn’t work at all (and it makes a super annoying clicking noise), even after adjusting the watt threshold. We keep this function switched off, which means that as a consequence, the inverter itself consumes about 600 watts per day.
Batteries: four Rolls S6-275 activated glass mat (AGM) batteries. Each battery is 6V and they are wired in series for a 24V system. We went with AGM because we wanted to keep the bank inside and not worry about off-gassing or having to do routine maintance on the batteries (as would be necessary with flooded lead acid). In the future, we would like to upgrade to a lithium ion battery bank, but we’re waiting for the prices to come down. Sheesh, those things are expensive!!!
Generator: Ryobi 2300 starting watts, 1800 running watts gas generator. It has bluetooth capabilities which allow you to check the fuel level and switch it off remotely. You still have to pull start it though.
Thanks for reading, and may your energy be free and renewable!

Great to hear about your progress! We are learning too with our little solar system. We have one 100W Renogy solar panel, a 20A inverter (wanted to be able to expand if necessary) charge controller and a 12V battery. Although we just use power for an ice maker and a digital projector, I accidentally used up all our energy on day two of making ice. I thought the solar panel would recharge the battery faster than what it actually did. We have decided to get another panel and battery. We keep to USB devices as well as they last so much longer so we even have a foldable solar panel charger and a 400 Goal Zero for ease.
LikeLiked by 1 person
Nice system! Glad you are learning and making it work for your needs. Yeah it’s SO hard to tell how full/empty the batteries are without buying a fancy meter, so we just keep an eye on the voltage and can pretty much tell what the system is doing based on that. Thanks for reading!
LikeLike
You guys are amazing. Love hearing about your progress. It’s great that you are now off the grid! Keep going!
LikeLiked by 1 person
Thanks Gwen! Hope you are doing well.
LikeLike
Thanks Gwen! Hope you are doing well and enjoying summer.
LikeLike
Thanks for sharing the “saga” of power!
I lived 14 years off grid but had a much much smaller need for electricity so only had two small military panels and a 200i Honda and 4 6v agm batteries.
LikeLiked by 1 person
Thanks for reading! Your system sounds like it was a lot more manageable than ours!
LikeLike
Way to persevere! Lesser mortals would have thrown in the towel. Great saga and lessons learned.
LikeLiked by 1 person
Thanks Karen!
LikeLike